

When your site is powered by RebelMouse, you don't just publish on a traditional CMS. You can receive full access to a community-building platform designed to spark organic conversations among influencers and creators who are already passionate about your company's core mission.
Thanks to a seamless user journey, our community experience not only encourages these conversations, but nurtures relationships through an intuitive user experience so that every reader becomes a loyal follower. Here's a look at how to set up your community on RebelMouse.
To start, here's an overview of the entire workflow for setting up a community dashboard:
Let's break down the workflow step by step. First, access your RebelMouse Dashboard using the hamburger menu (☰). Then append /community to the URL in your browser's address bar. Next, click the + icon in the bottom-right corner to start a new community:

Fill out the fields in the form that appears to start your community. The title and email fields are required.
Once your community has been created, you can view its main information — and make adjustments if necessary — under the Community Information tab:

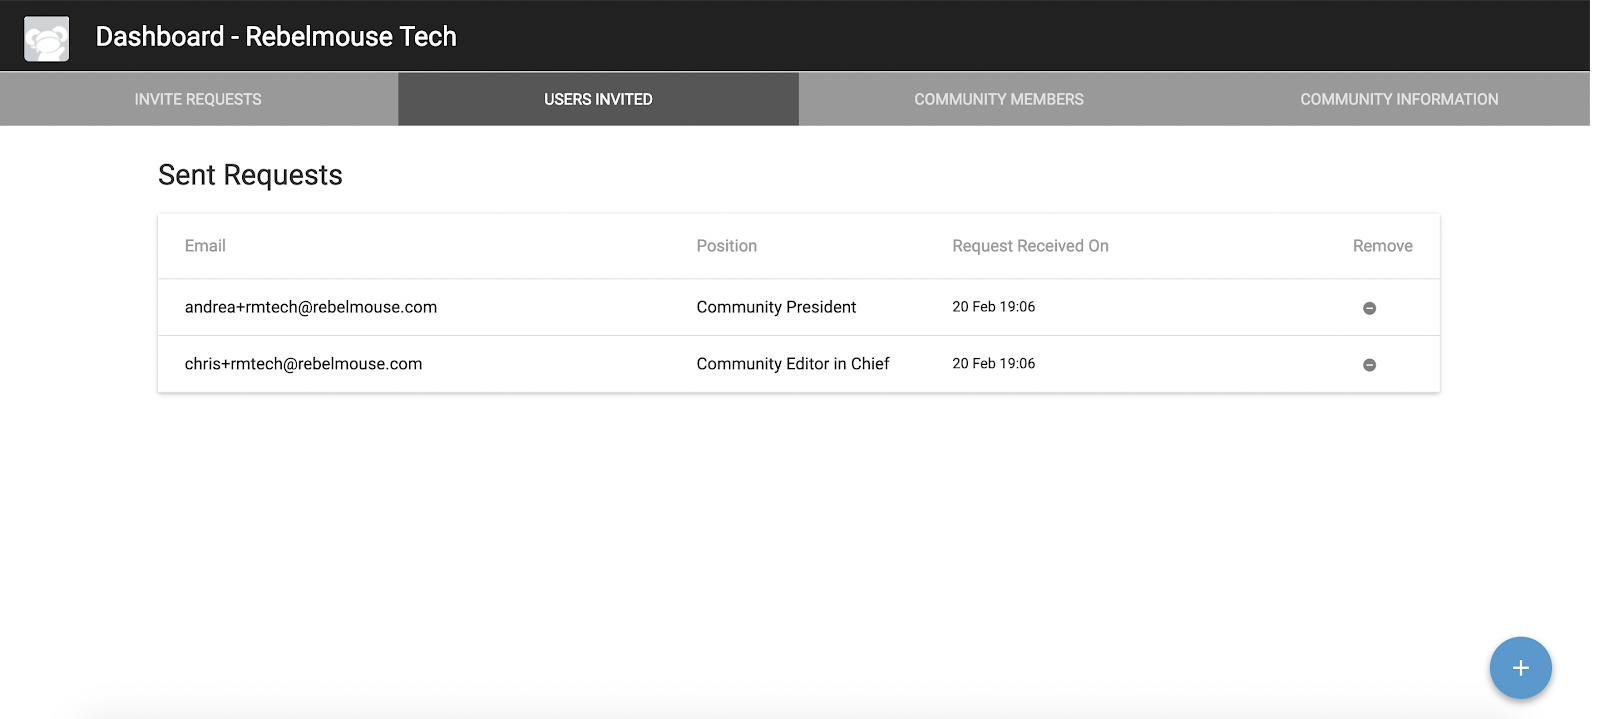
You can add a new user by clicking the the Users Invited tab. Click the + icon in the bottom-right corner to prompt a pop-up window where you can add the new user's information and select their community role.

You can also view your sent invitation requests in the same tab:
Please note that deleting communities is not available from within the dashboard. To remove a community requires assistance from our dev team.
If you have any questions about setting up a new community on your site, contact support@rebelmouse.com today.
Related Articles


