
Smart Links lets you define keyword rules that automatically turn specific phrases in your site content into clickable links — without any manual editing. Whenever that phrase appears on a page, it becomes a link pointing to the destination you choose. It's a hands-free way to guide visitors to important pages and strengthen connections across your content.
What You Can Do with Smart Links
- Set any word or phrase to automatically become a clickable link, anywhere it appears on your site
- Choose exactly which pages the rule applies to — site-wide or just specific sections
- Limit which areas of a page are affected — for example, body content only, not the header or footer
- View, edit, and remove all your link rules from one simple list
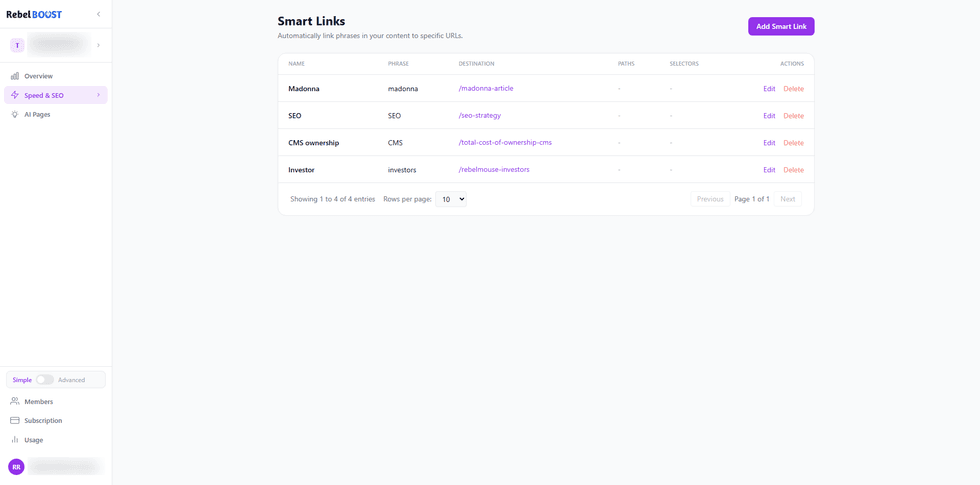 The Smart Links page shows all your active rules in one place.
How to Add a Smart Link
- Navigate to Smart Links. In your RebelBoost dashboard, open the property you want to manage and select Smart Links from the sidebar.
- Click Add Smart Link. You'll find this button in the top-right corner of the page.
- The setup panel will appear. You'll see a form with fields to configure your new link rule.
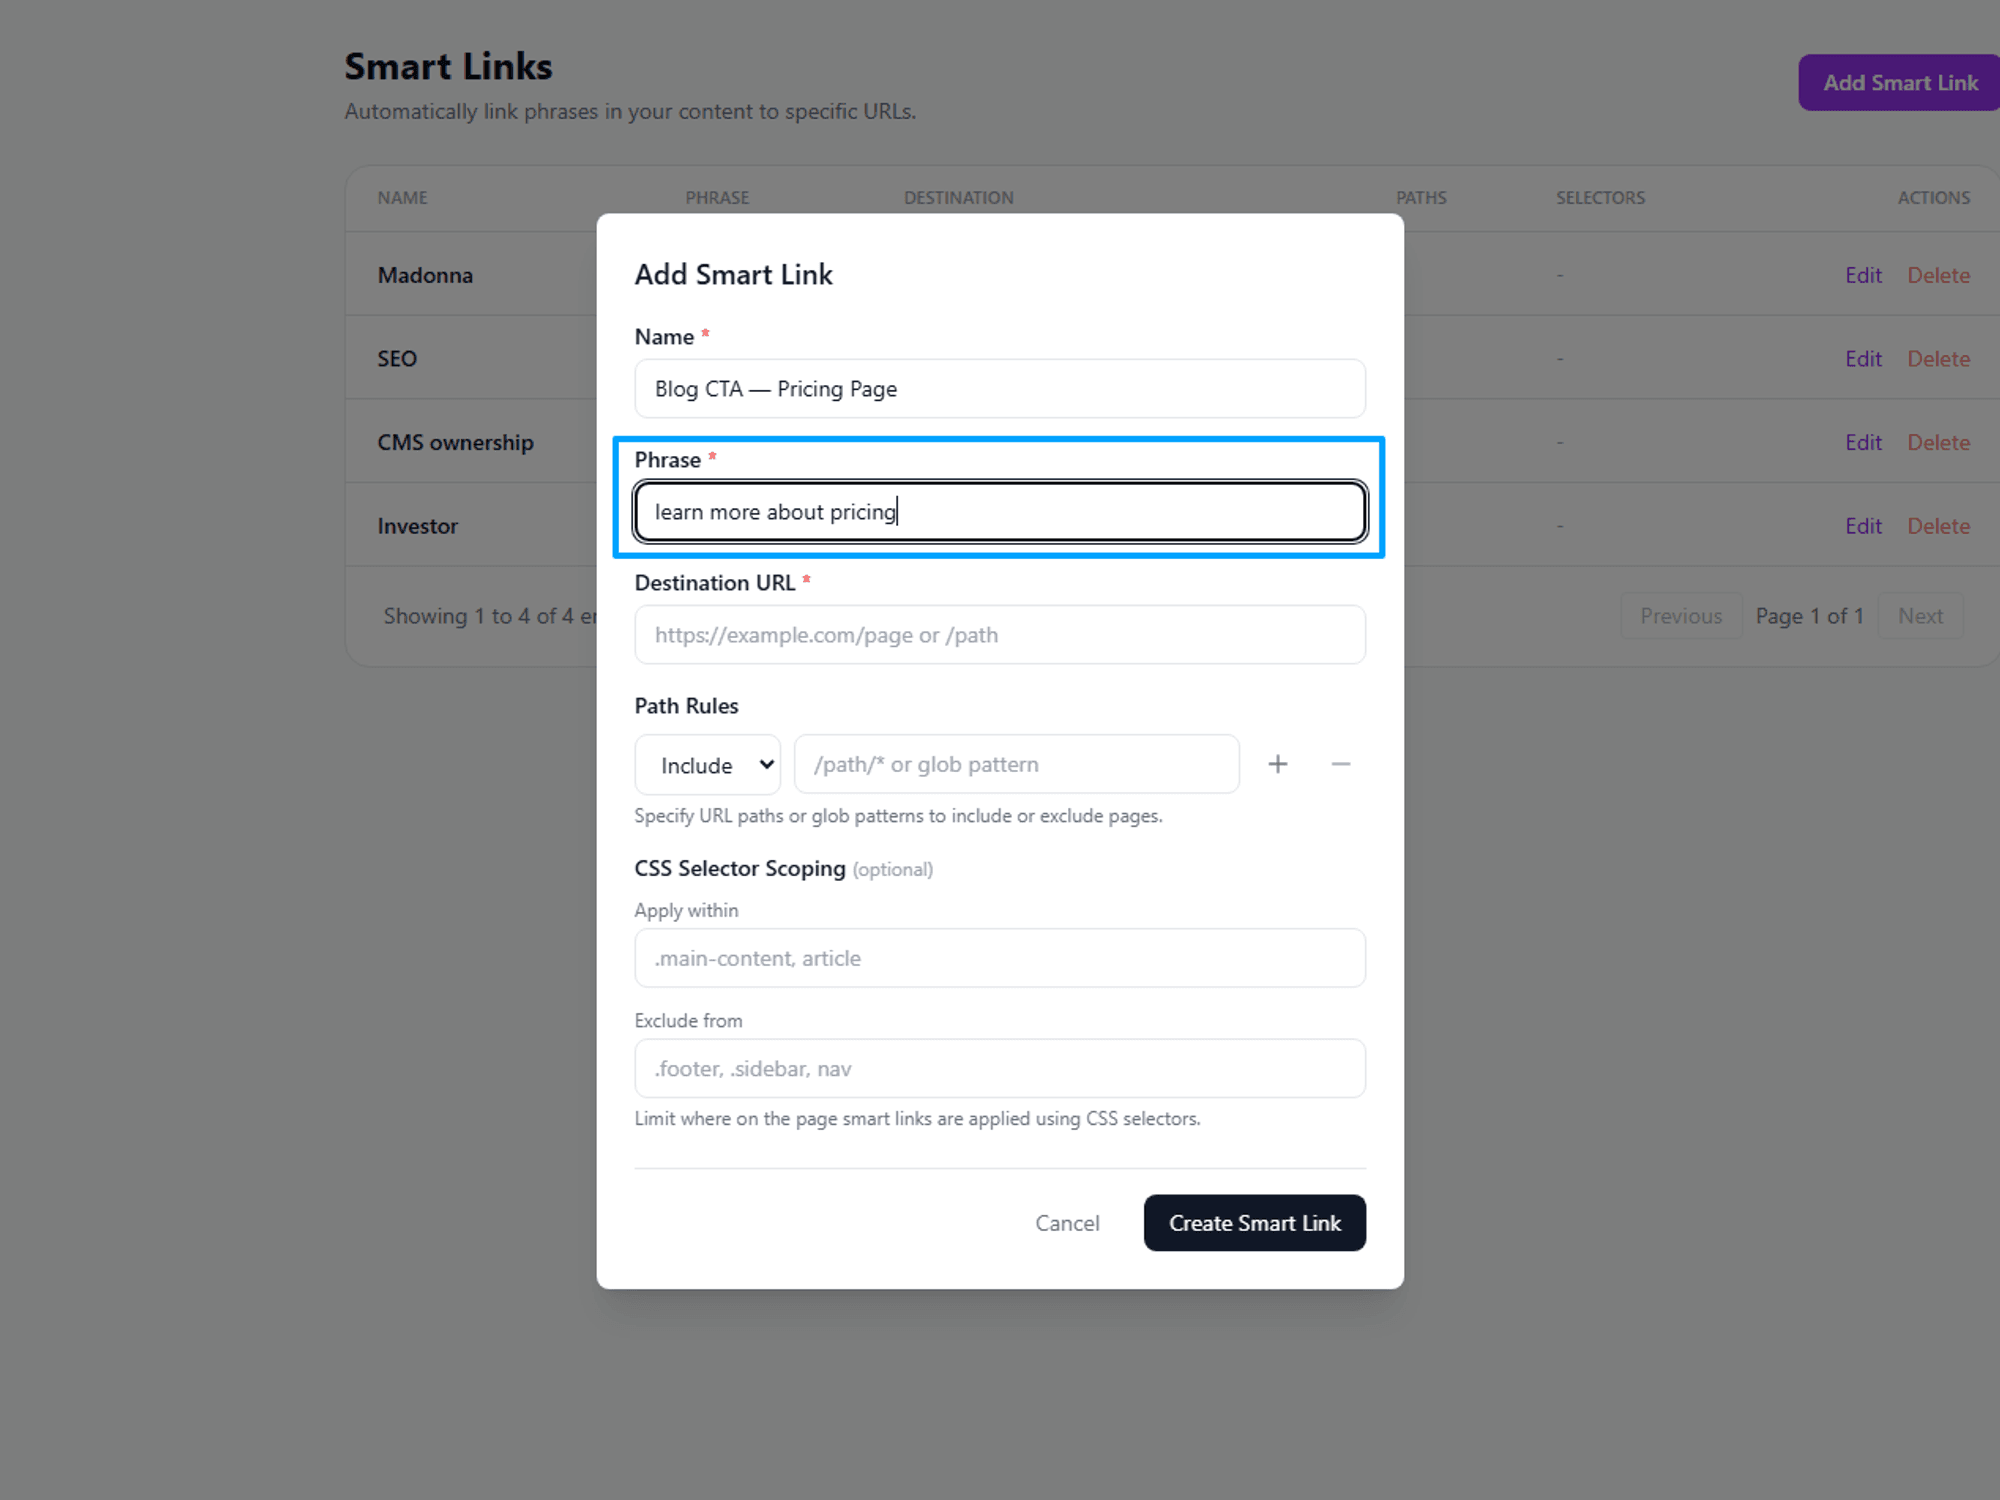
- Enter a Name. This is your own internal label for the rule — it won't appear on your site. Choose something descriptive so you can recognize it later, for example Blog CTA — Pricing Page.
- Enter the Phrase. This is the exact word or phrase that will become a link wherever it appears in your content. For example, if you enter learn more about pricing, every time that phrase appears on a page it will automatically become a clickable link.
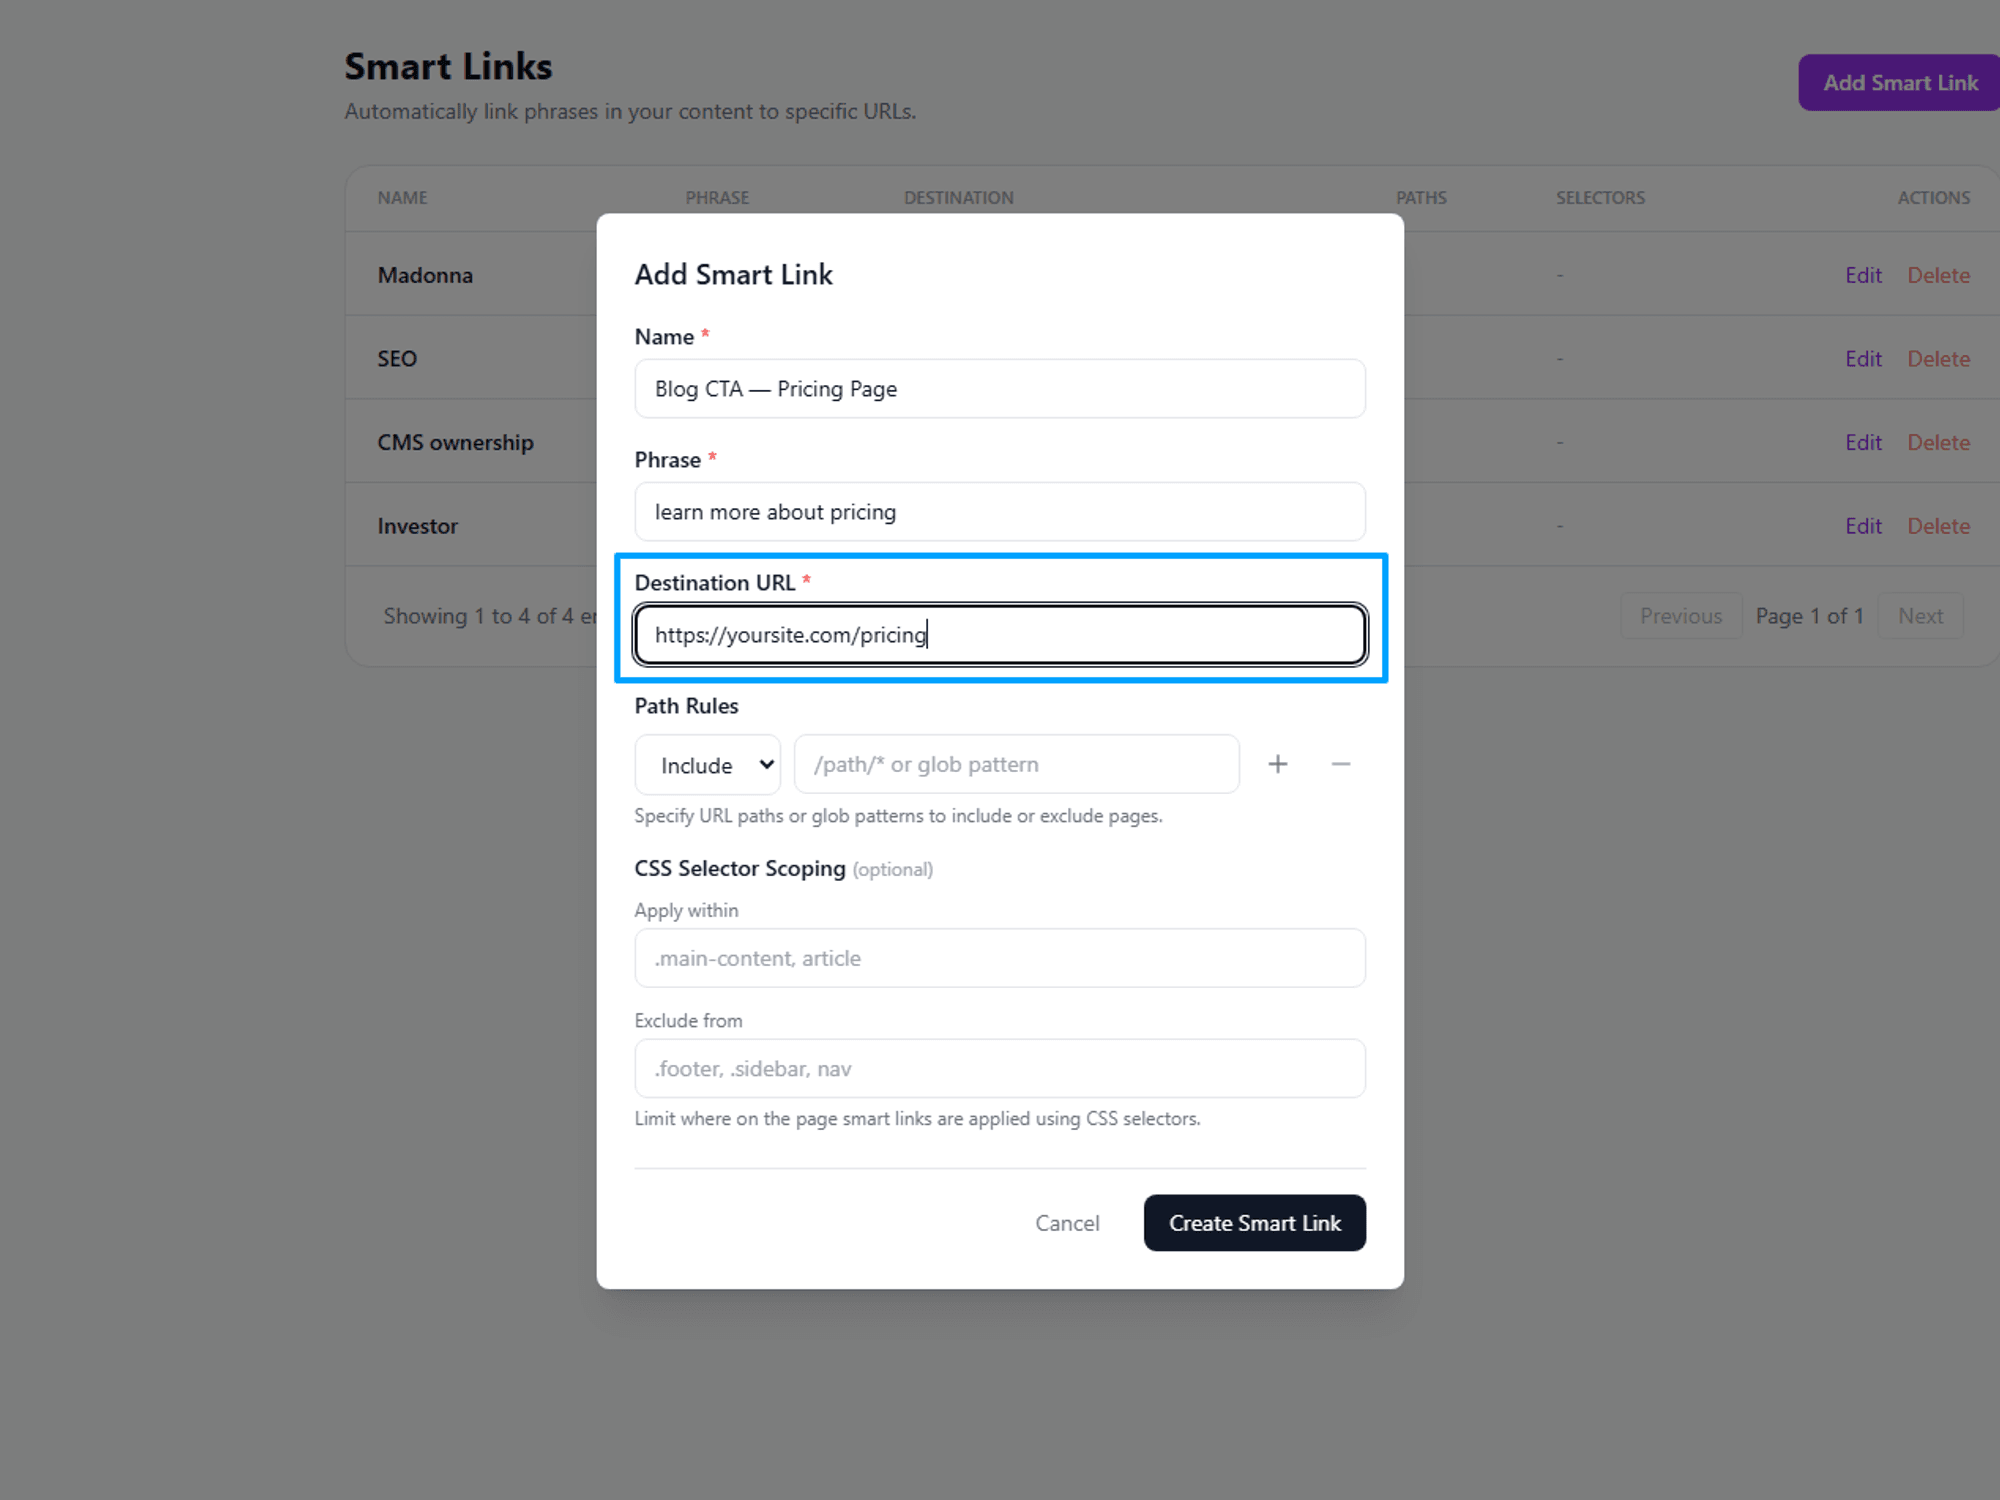
- Enter the Destination URL. This is where visitors will be taken when they click the link. You can enter a full address (e.g. https://yoursite.com/pricing) or a relative path (e.g. /pricing).
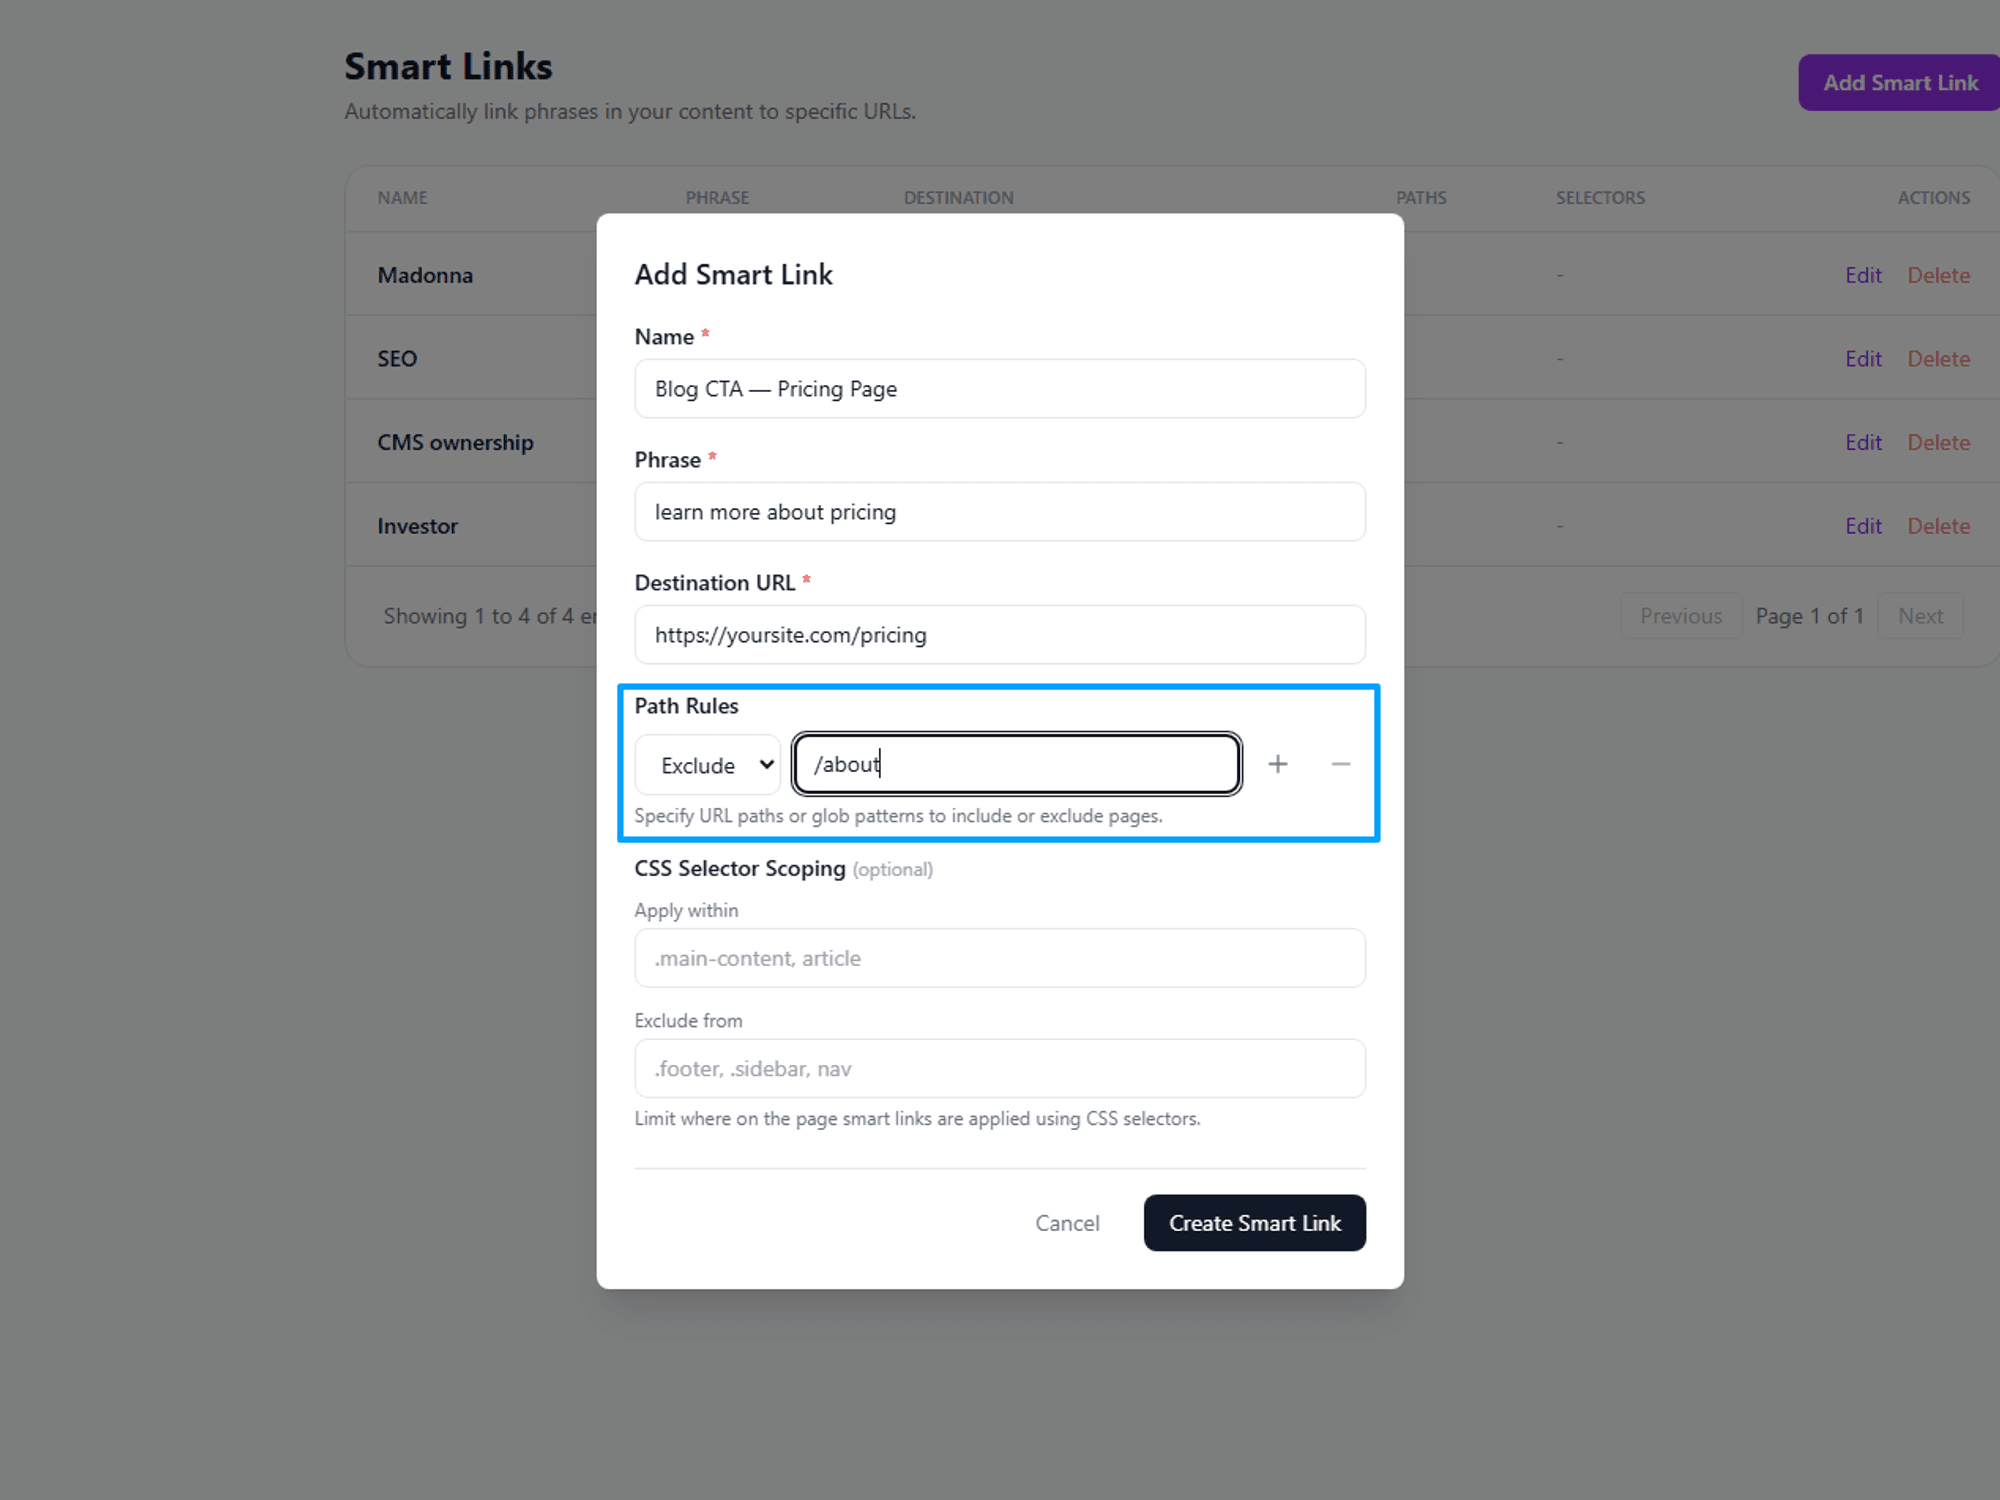
- (Optional) Set Path Rules. By default, the rule applies across your entire site. If you'd like to limit it to specific pages, use Path Rules to include or exclude URL patterns. For example, set Include to /blog/* to apply the rule only to blog posts, or set Exclude to /about to skip the About page. You can add as many rules as you need.
- (Optional) Set Content Area Scoping. If you want the rule to apply only within specific sections of a page — for example, just the main article body and not the navigation or footer — use the Apply within and Exclude from fields to target those areas.
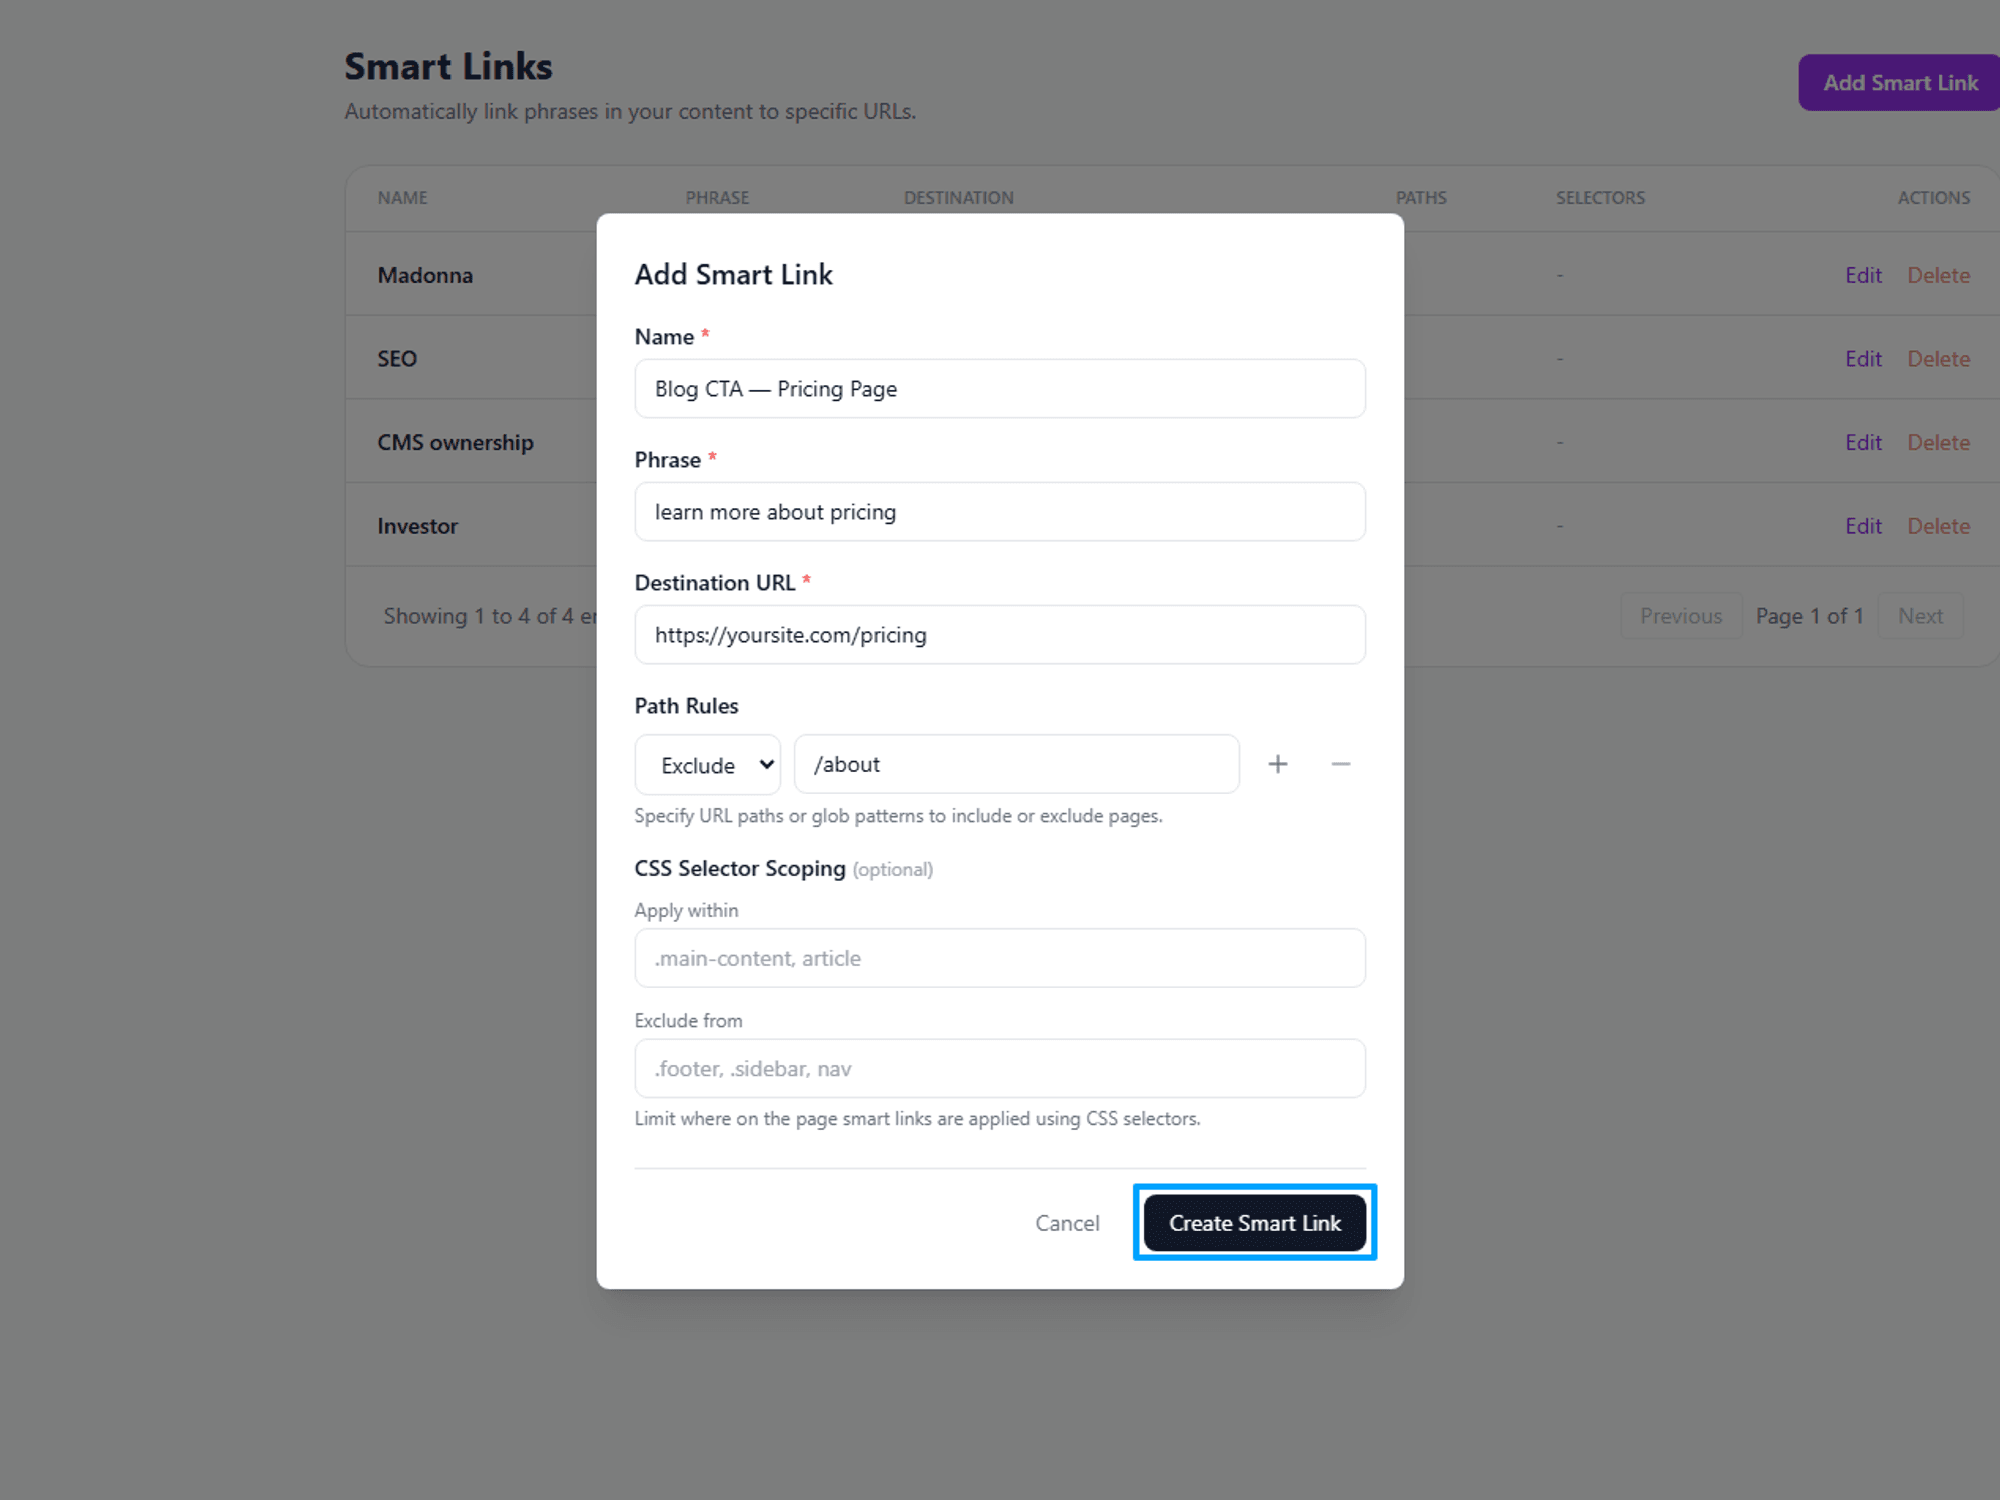
- Click Create Smart Link. Your new rule is saved and will start applying to your site right away.
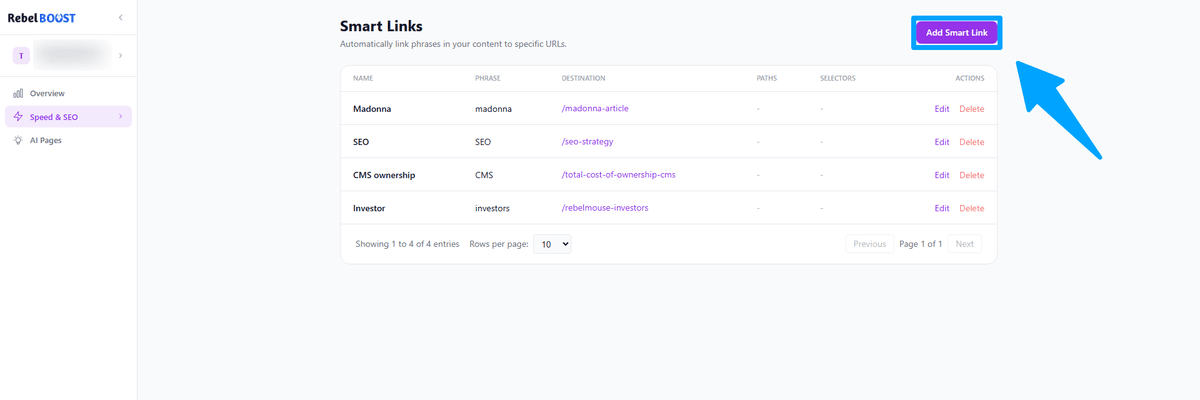 Click Add Smart Link to open the setup panel.
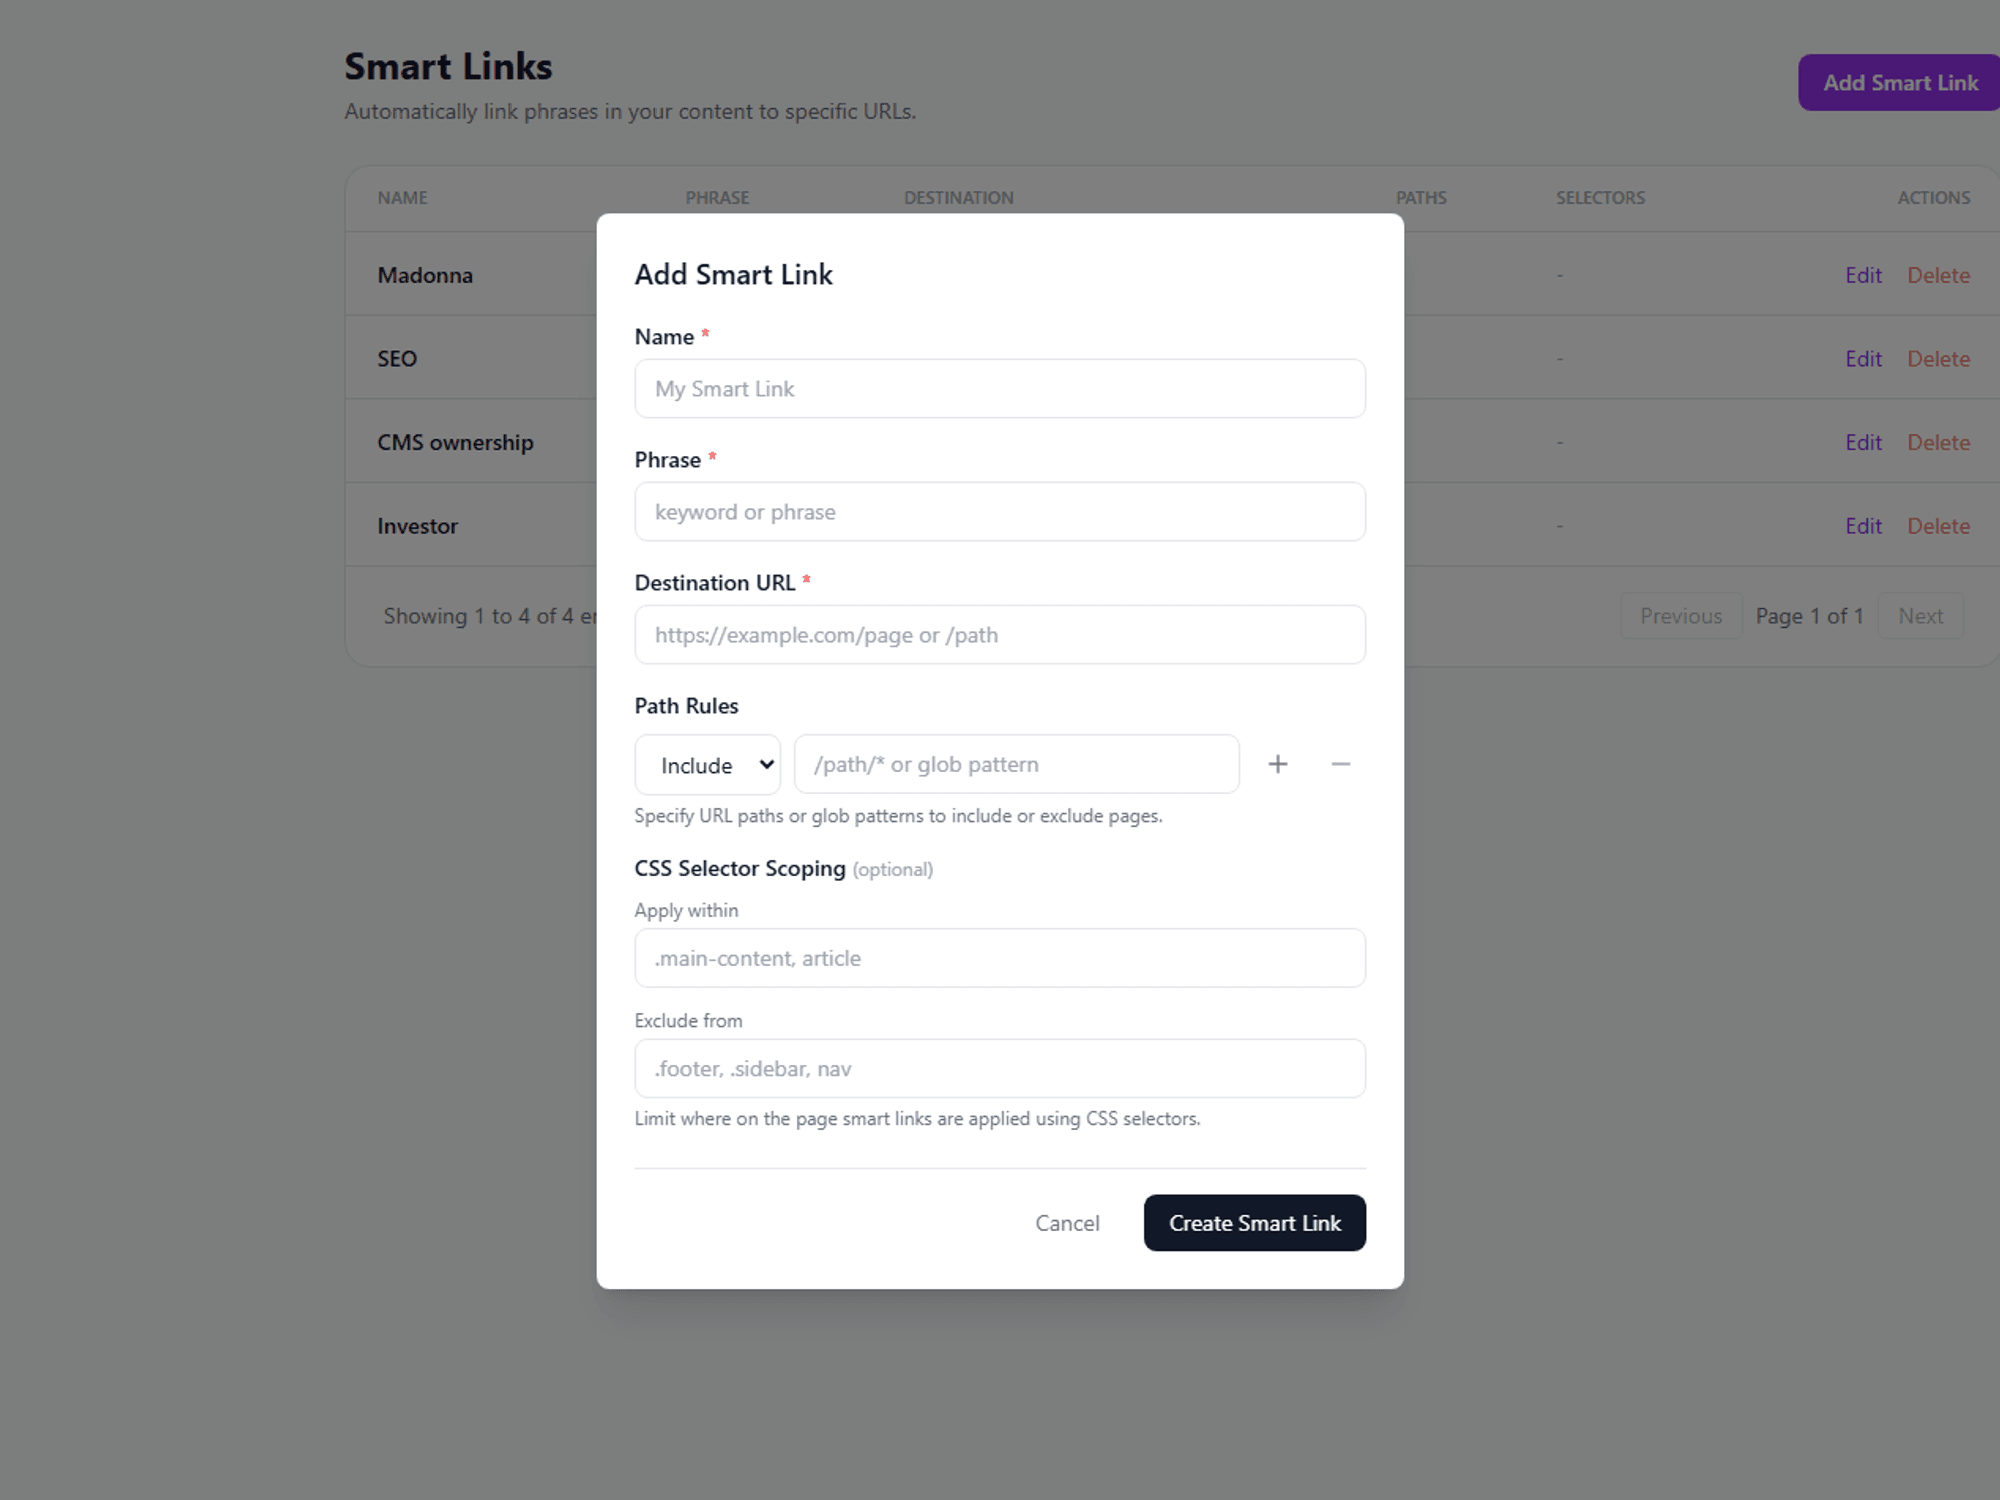 Fill in the details for your Smart Link rule.
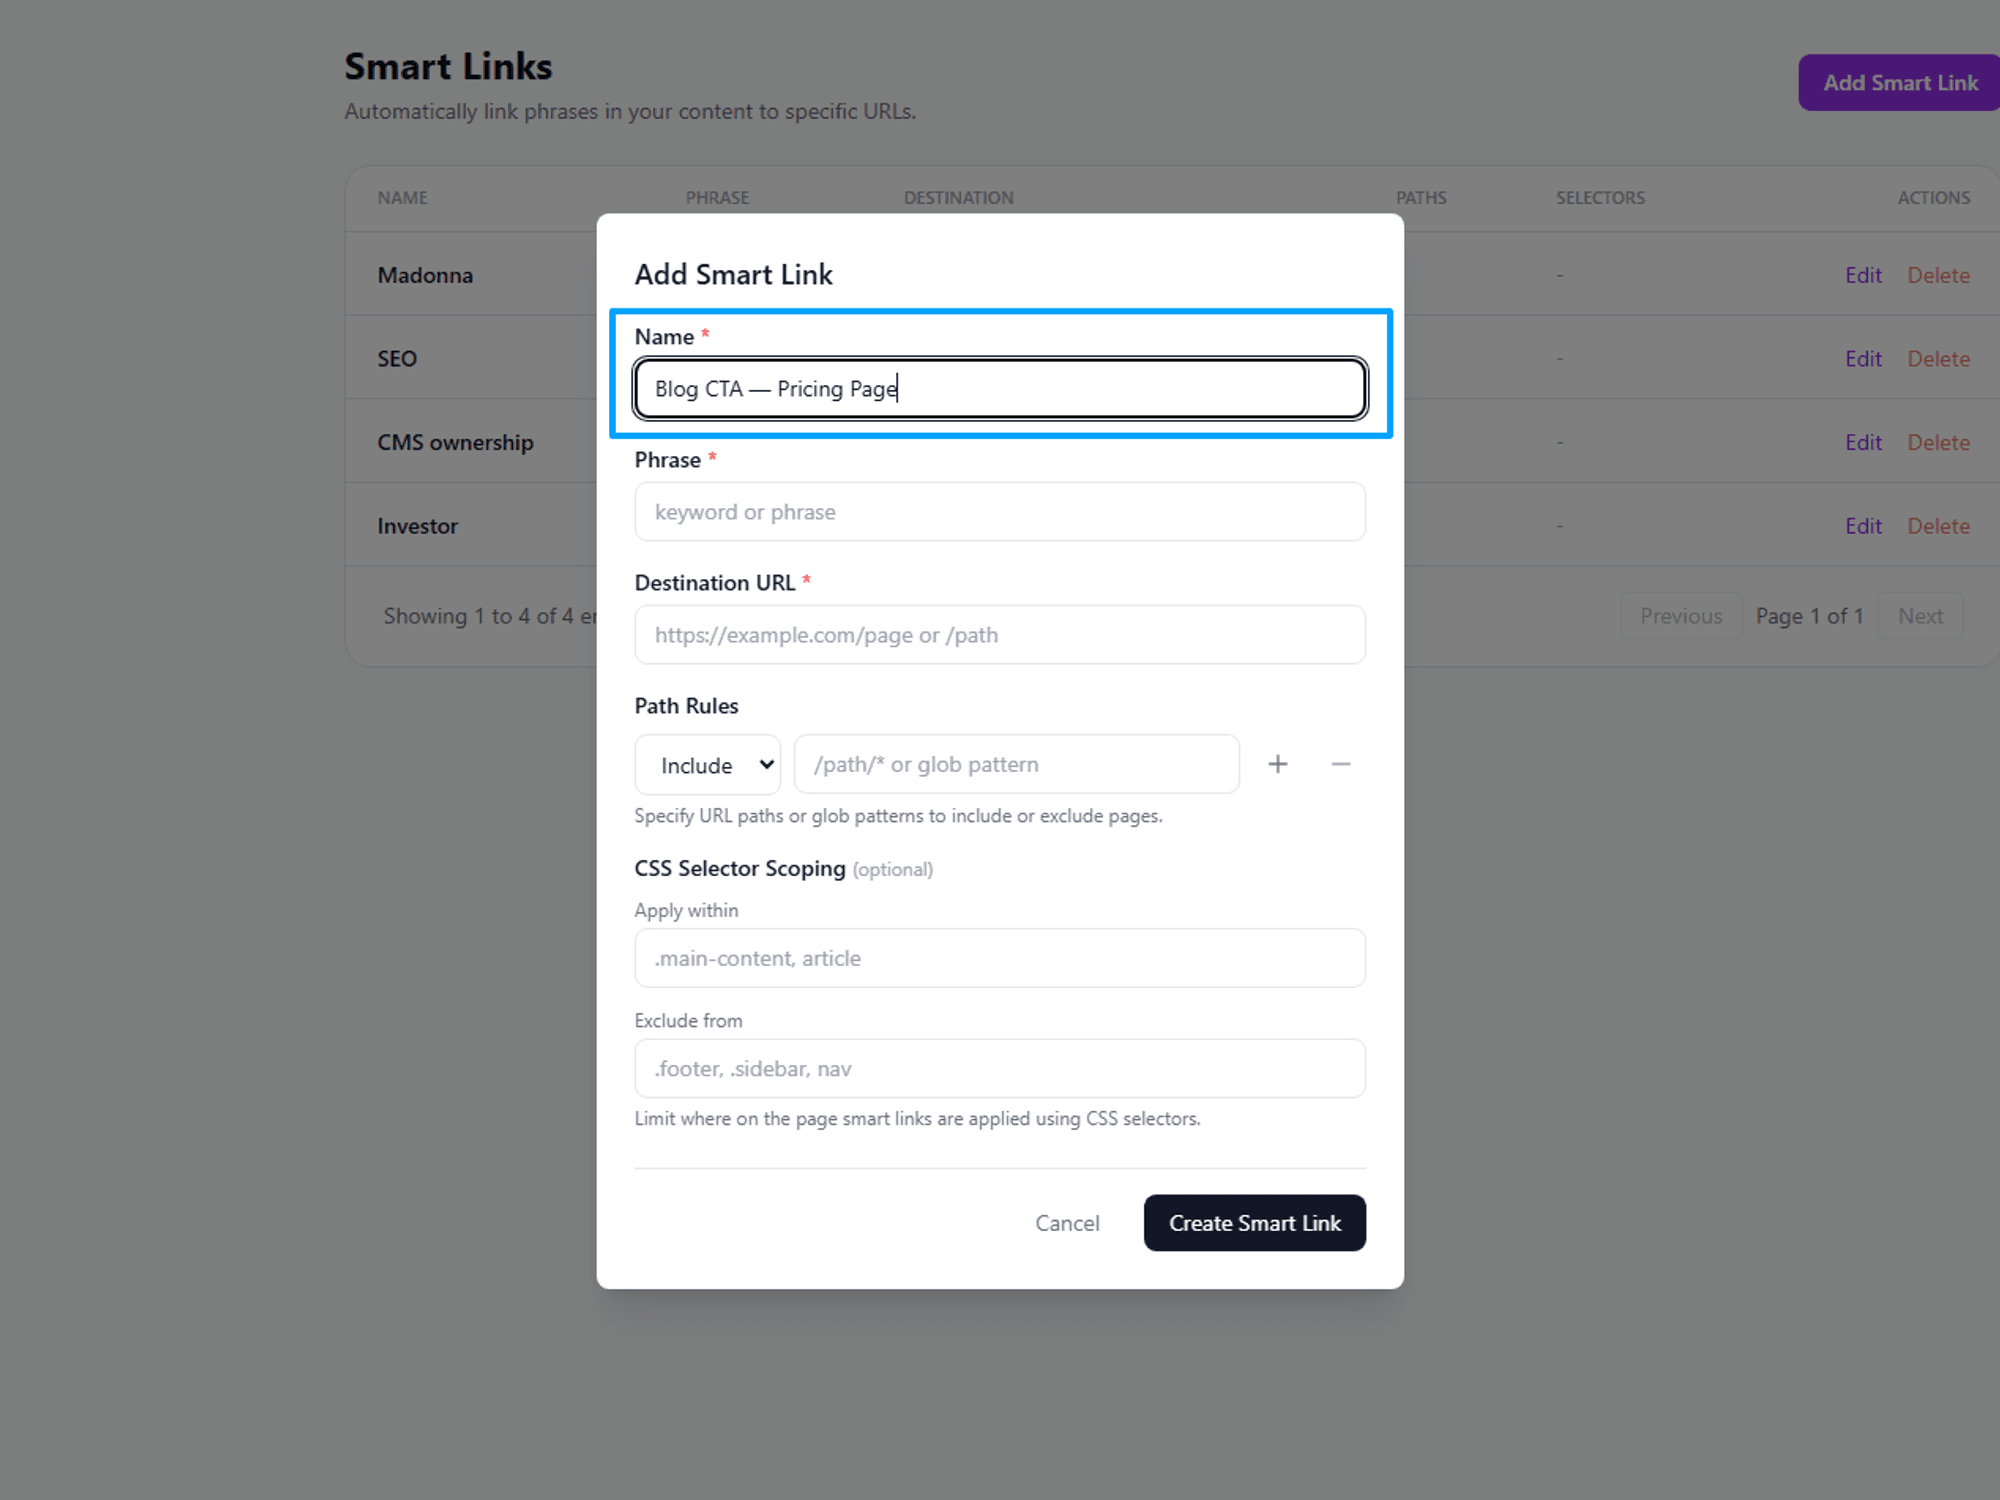 The Name field is for your reference only.
 Enter the exact text you want to turn into a link.
 Set the destination visitors will land on when they click.
 Use Path Rules to control which pages the rule applies to.

 Click Create Smart Link to save and activate the rule.
How to Edit a Smart Link
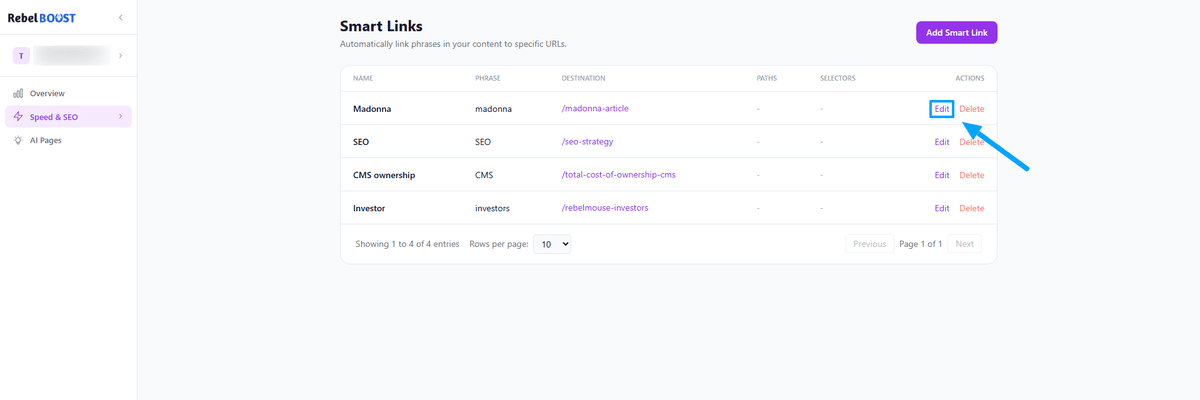
- From the Smart Links list, find the rule you want to update.
- Click Edit on the right side of that row.
- The setup panel will reopen with the current settings filled in. Make your changes, then click Save Changes.
How to Delete a Smart Link
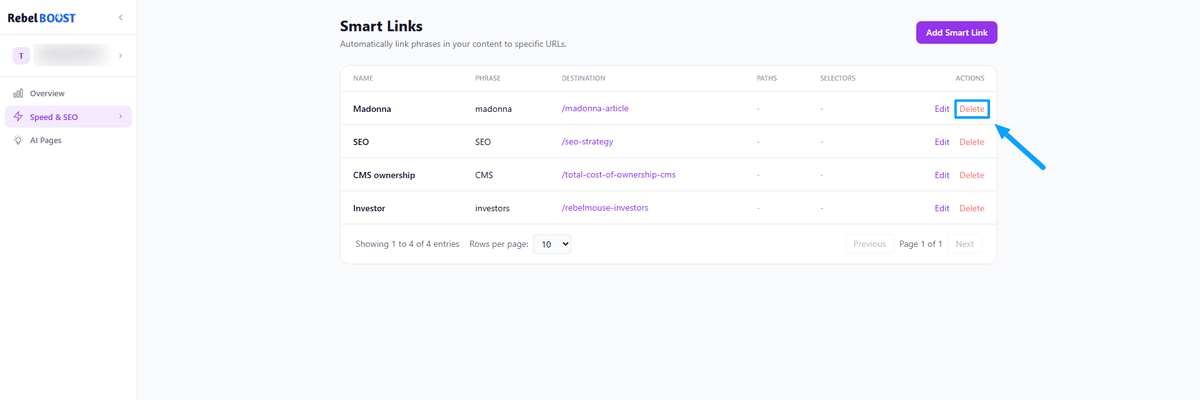
- From the Smart Links list, find the rule you want to remove.
- Click Delete on the right side of that row.
- A confirmation prompt will appear — confirm to permanently remove the rule.
Tips & Things to Know
- Be specific with your phrases. The phrase is matched exactly as entered. Shorter or generic phrases may match in places you don't expect — so be as precise as possible.
- Path patterns work like wildcards. Use /blog/* to match all pages under /blog/, or /about to match just that one specific page.
- Content Area Scoping keeps links focused. Use the Exclude from field to prevent links from appearing in your navigation, sidebar, or footer.
- Your site needs to be connected. Smart Links activate once your site is verified and connected to RebelBoost. If the Add Smart Link button appears greyed out, complete your site setup first.
- Everything in one view. The Smart Links page shows all your active rules — phrase, destination, and scope — at a glance, making it easy to review and keep organised.
Table of Contents


© 2026 RebelMouse. All rights reserved.