
Cache Management gives you full control over how your site's pages are stored and delivered to visitors. When content is cached, pages load faster for everyone — and when you make updates, you can clear the old version right away so your audience always sees the most current content. This guide walks you through every option available in the Cache section of your RebelBoost dashboard.
What's Covered
- Clearing cached pages — by URL, by category, or all at once
- Browsing and managing the pages currently held in your cache
- Setting up rules to control how long your content stays cached
- Using an API key to trigger cache actions from your own tools
- Soft purging — update your cache in the background with no interruption for visitors
The Purge Cache tab is where you go whenever you need to clear content immediately. You can target a single page, a whole category, or wipe everything at once. This purge can be done in 2 different ways: manually or via API.
How to Purge Your Cache Manually
- From your RebelBoost dashboard, open your property and click Cache in the navigation. You'll land on the Purge Cache tab by default.
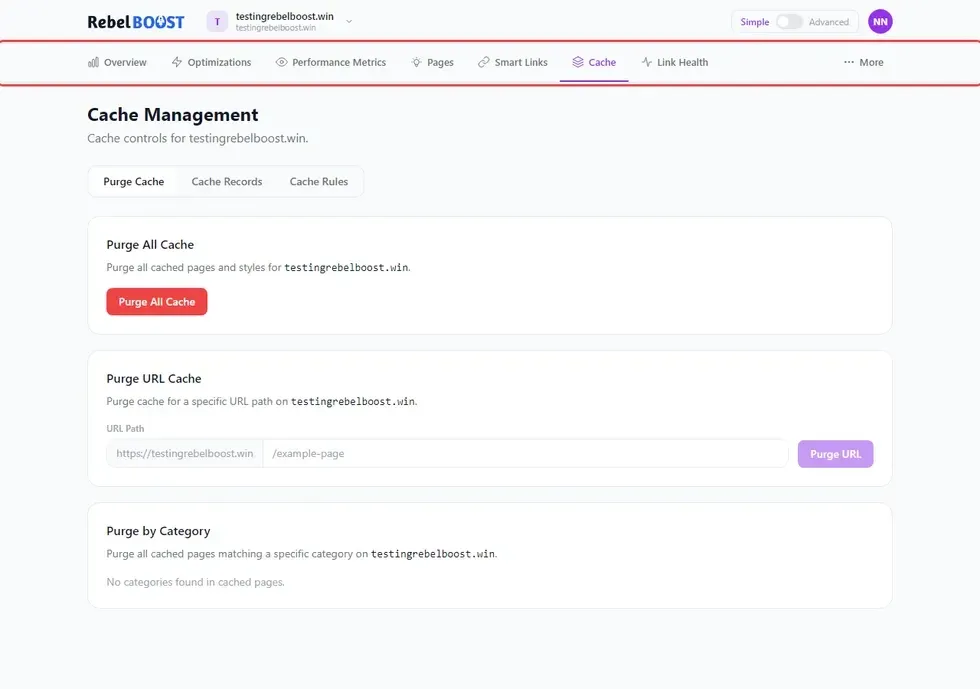
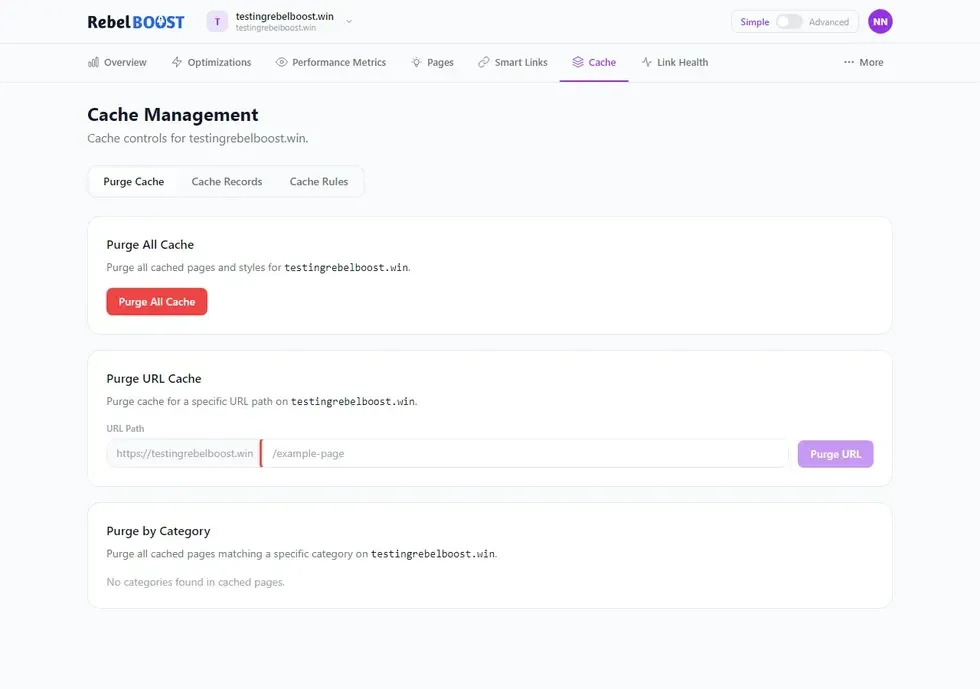
- To clear a single page: In the Purge URL field, enter the path of the page you want to clear (for example, /my-article). Then click Purge. The cached version of that page will be removed immediately.
- To clear all pages in a topic: Use the Purge Category dropdown to select a topic. Click Purge. The dashboard will confirm how many pages were cleared.
- To clear your entire cache: Click Purge All Cache. You'll be asked to confirm before anything is deleted. Once confirmed, all cached pages and styles for your domain are removed.
Tip: After publishing a major update, use Purge All Cache to make sure every visitor sees the refreshed version of your site. For smaller edits, Purge URL is faster and more targeted.
How to Use Cache API Keys
If you use external tools or automated workflows, you can trigger cache actions without logging into the dashboard. Your API key gives your tools the same clearing power you have in the dashboard.
- In the Cache section, click API Keys.
- Click Generate Key (or copy your existing key if one is already active). Keep this key secure — anyone with access can trigger cache purges on your property.
- Use the key in your tools to trigger any of the following actions: clear a single page by URL, clear all cached pages, clear all pages in a specific category, soft purge by category, or soft purge all pages.
What is a soft purge? A regular purge removes cached content immediately — the next visitor triggers a fresh load. A soft purge marks the content as stale but keeps serving it to visitors while a new version refreshes quietly behind the scenes. This means no delay or blank page for anyone while your cache updates.
How to Browse Your Cached Pages
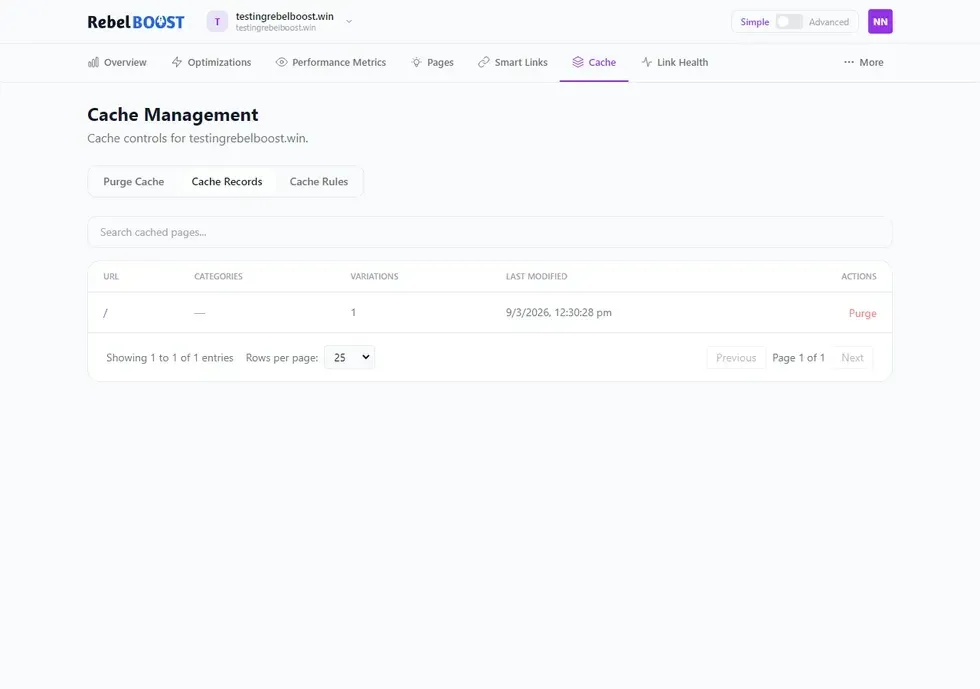
The Cache Records tab shows you everything that's currently stored in your cache — so you can see exactly what's being served to visitors and take action on individual pages.
- Click the Cache Records tab at the top of the Cache section.
- Use the search bar to find a specific page by URL, or browse the full list. For each page you'll see: the page URL, the topic categories it belongs to, how many variations are cached, and when the cache entry was last updated.
- To remove a single page from the cache, click Purge in that page's row. The change takes effect immediately.
How to Set Up Cache Rules
Cache rules let you fine-tune exactly how your content is cached — how long pages stay cached, how cookies are handled, and which query parameters create separate cached versions. You'll find all of this under the Cache Rules tab.
- Click the Cache Rules tab, then click Add Cache Rule.
- Fill in the rule details: the URL Pattern (which pages this rule applies to), the Cache Duration (how long pages stay cached before refreshing), and the Stale Window (how long old content is served while a fresh version loads silently in the background).
- Save the rule. It applies to all matching pages going forward.
Additional Rule Types
From the same Cache Rules tab, you can also add more targeted rules:
| Rule Type | What It Does |
|---|---|
| Cookie Rule | Tells the cache to store separate versions of a page for visitors with a specific cookie — useful when content varies by login state or preference. |
| Skip Cookie Rule | When a visitor has a specific cookie, caching is bypassed entirely — they always get a fresh page. Ideal for logged-in users. |
| Query Rule | Controls how URL query parameters affect caching. Choose to ignore all parameters, ignore specific ones, or store separate cached versions for specific parameters. |
| Skip Query Rule | When a URL contains a specific query parameter, the page is not cached — always served fresh. |
| Response Header | Adds a custom header to responses for pages matching a URL pattern — useful for controlling how browsers or downstream systems handle the content. |
Tips & Things to Know
- Purging by category shows a count. After you purge a category, the dashboard confirms exactly how many pages were cleared — so you always know what was affected.
- Managed CDN users are fully supported. Whether RebelBoost manages your CDN setup for you or you've connected your own, cache purging works the same way across both configurations.
- Soft purge is the gentler option. When you want to refresh your cache without any risk of a slow load for visitors, choose soft purge. It's especially useful for high-traffic sites during content updates.
- Rules apply going forward. Cache rules you create apply to new cache entries from that point on. They don't retroactively change what's already stored — purge first if you need an immediate refresh.
- Multiple variations per page. If the same URL is cached differently depending on device type or other factors, Cache Records will show how many variations exist for each page.
Table of Contents


© 2026 RebelMouse. All rights reserved.